How to install EasiPanel Wall Panelling
1 October 2022

What is EasiPanel?
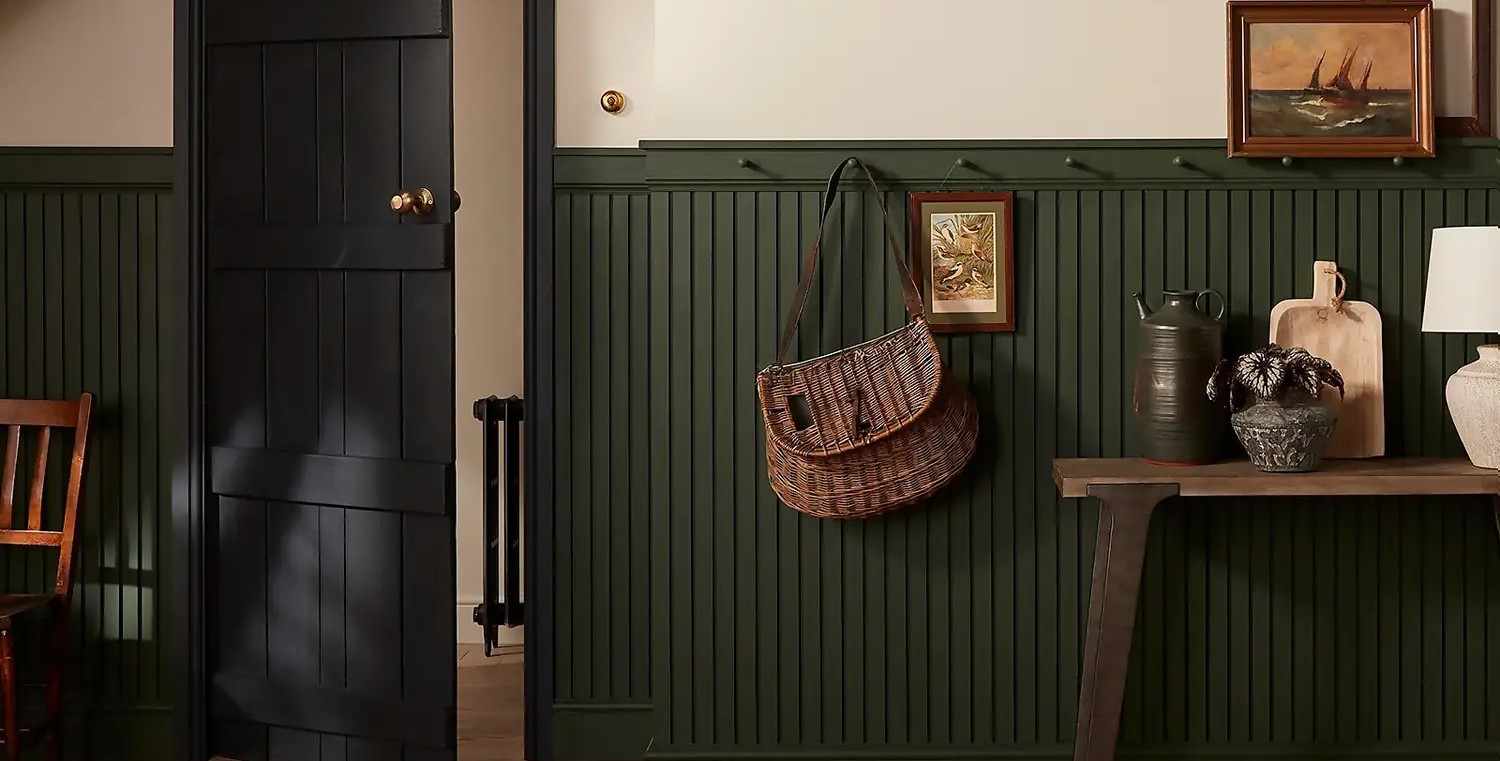
EasiPanel is a cost-effective range of wall panelling systems that enable anyone to achieve the look and feel of classic panelling in a fraction of the time and without the need of a professional joiner. It transforms any room in the house and is easy to stain or paint to suite your desired colour scheme. EasiPanel is available in Tongue & Grooved and Raised & Fielded styles, along with rebated dado rails and beaded mouldings to complete the look. It’s made out of moisture resistant MDF which also makes it a great choice for kitchens and bathrooms. Once finished with a suitable paint, it copes well with splashes and is easy to clean.
How to install
Installing EasiPanel is extremely easy however there are a few steps and pieces of advice to help make sure you get your desired finish right the first time.
To install you will only need a few pieces of equipment, such as a power or hand saw, tape measure and pencil, sand paper (fine or medium grade), a spirit level and a suitable adhesive (i.e., Instant Nails).
1. Conditioning the panels
The first step begins two days prior installation to allow the panels to acclimatise to the new environment. Remove all packaging from your panels and lay them flat on the floor of the room you intend to install the panels in.
2. Preparing the wall
Remove all loose wallpaper or paint, stabilise any loose plaster and make sure the wall surface is clean and free of grease.
3. Setting Out
If you are intending to use the panels at their pre-cut height you will not have to mark the height prior installation. Especially in older properties, however, it is recommended to ensure the floors are even by locating the highest point and mark off the panel height from the top of the skirting and continue that mark around the room or area you wish to panel.
4. Where to start?
Start by laying your panels around the room to make sure you have got enough panels to cover the whole area and roughly identify where any cutting is required. Make sure you take any sockets or radiators etc into account. Then start at either a corner of the room or the door opening and hold up your first panel onto the wall first to ensure it is sitting squarely on top of the skirting and tight to the corner or architrave. If needed, trim the edge to fit correctly. We would recommend to cut and trim the panels as you go rather than cutting them all before fitting.
5. Applying Adhesive
Apply a 6mm width bead of grab adhesive in a ‘Z’ pattern.
6. Fit to wall
To fit your panels to the wall, remove the paper backing from the foam pads and place the bottom edge of the panel on top of the skirting. Make sure the left edge fits tightly into the corner or up the architrave depending on where you start panelling. Press firmly to the wall. Now, prepare your next panel and place the bottom edge on top of the skirting again. Push fit the edge to the previously fitted panel and ensure the tongue is fully located into the groove. Now repeat this process until the whole area is panelled.
Finishing Touches
EasiPanel allows you to add your own finishing touches by painting, staining or even distressing the panels for an effective finish. You can proceed to finish your EasiPanel with a stain or paint of your choice after the adhesive had time to dry. Please refer to the recommendations of the glue you’re using to ensure it is fully set. Apply an undercoat to prime the panels before applying two coats of your chosen paint. If you choose to stain your panels for a more traditional look, please follow the instructions of your chosen stain. The woodgrain effect of the panels also makes distressing or liming the panels an ideal option for a fully personalised finish.
If you are unsure whether EasiPanel is the right choice for your project, please contact us for advice!


